Exportearthworms.com – Vermicomposting has really taken off lately, as more homeowners, gardeners, and eco-conscious folks seek out sustainable ways to recycle their organic waste. Among the various composting worms out there, Red Wiggler Worms (Eisenia fetida) are the stars of the show they’re efficient, adaptable, and perfect for beginners diving into home or commercial composting.
These little guys are fantastic at breaking down food scraps quickly and reliably, making them invaluable allies in turning kitchen waste into nutrient-rich fertilizer. This comprehensive guide is designed to help newcomers grasp everything they need to know about using red wigglers for vermicomposting, covering how they work, how to set up a worm bin, feeding routines, maintenance tips, troubleshooting, benefits, and so much more!
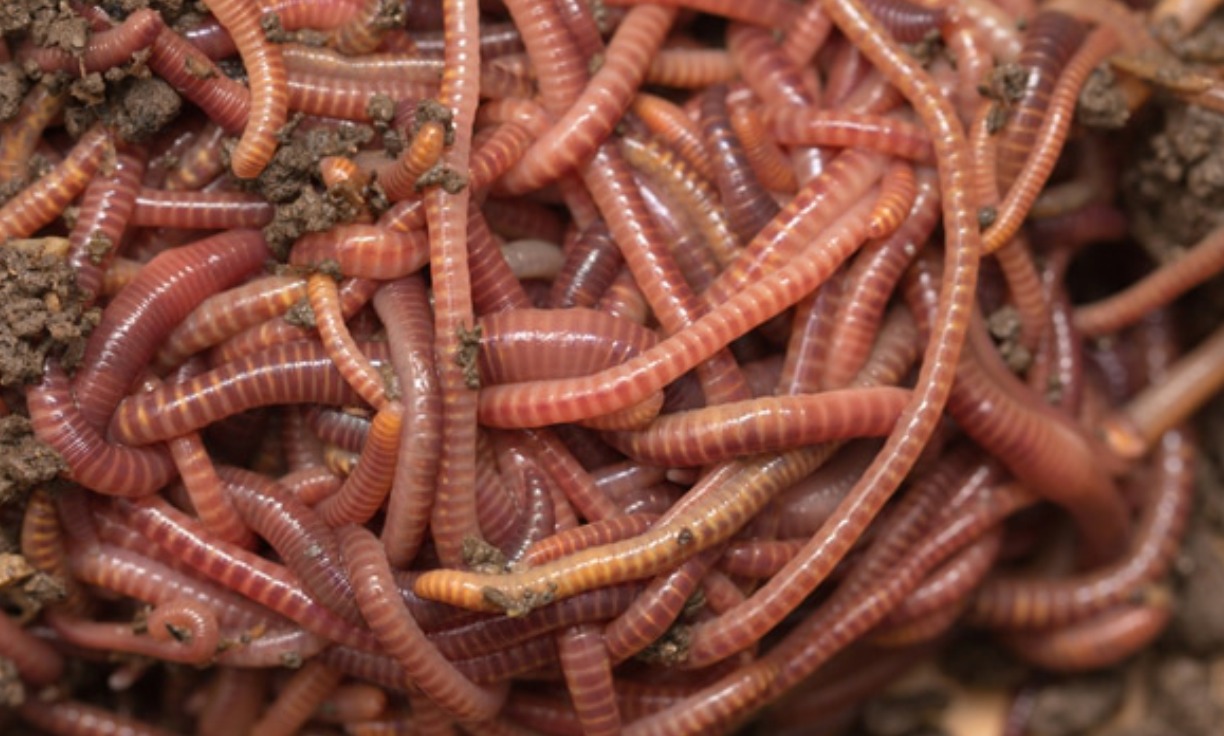
What Are Red Wiggler Worms (Eisenia fetida)?
Red wigglers, or Eisenia fetida if you want to get technical, are those little composting champs you often find in worm bins. They have a knack for munching through organic waste like it’s their favorite snack. Unlike the typical garden earthworms that dig deep into the soil, red wigglers prefer to hang out in the upper layers of decaying organic matter. This makes them perfect for composting since they thrive in cozy spots where food scraps are plentiful. Plus, they reproduce quickly, can handle a variety of environmental conditions, and produce some of the best worm castings you can find. If you’re just starting out, these little guys are a great choice because they’re easy to care for and deliver consistent results.
Why Choose Red Wigglers for Vermicomposting?
Why should you choose red wigglers for your vermicomposting needs? Well, these little guys are often hailed as the best of the best! They’re super efficient and tough, able to munch through food scraps that weigh about half of their own body weight every single day. This means you can really cut down on the organic waste piling up in your home. Plus, their castings often referred to as “black gold” by gardeners—are packed with beneficial microbes and nutrients that can really boost your soil’s health and fertility.
Red wigglers are also quite versatile; they thrive in small indoor bins, outdoor composting systems, and even larger commercial setups. Their knack for surviving in tight spaces, fluctuating temperatures, and high organic matter levels makes them way more adaptable than your average soil worm.
How Vermicomposting Works
Vermicomposting is all about harnessing the power of worms, helpful microbes, and the natural process of decomposition to turn organic waste into rich compost. When you toss food scraps into a worm bin, those little red wigglers get to work, munching on the scraps, digesting them, and then producing nutrient-rich castings.
Over time, these castings build up at the bottom of the bin or in special harvesting trays, creating a dark, crumbly soil enhancer. The best part? If done right, the process is completely odorless because the worms consume the waste before it has a chance to decompose. Vermicomposting is not just easy; it’s also super quick compared to traditional composting methods, making it an ideal choice for beginners looking for fast and manageable results.
Setting Up Your First Worm Bin
Setting up a worm bin for the first time is straightforward, and most beginners can start with inexpensive materials.
1. Choose the Right Bin
You can purchase a ready-made vermicomposting bin or create one from a plastic storage container. Ensure it has:
- Adequate ventilation holes
- A secure but breathable lid
- A drainage system to prevent excess moisture
Stackable tray systems are popular because they simplify harvesting.
2. Prepare the Bedding
Bedding mimics the natural habitat of red wigglers. Ideal materials include:
- Shredded newspaper
- Coconut coir
- Shredded cardboard
- A small amount of finished compost or garden soil
Moisten the bedding until it feels like a wrung-out sponge, then fill the bin about halfway.
3. Add the Worms
For beginners, 500–1,000 red wigglers (about 1 pound) is a common starting amount. Gently place the worms on top of the bedding and allow them to burrow on their own, usually within a few minutes.
4. Let the Bin Stabilize
Before adding large amounts of food, allow the bin to sit for a day or two, giving the worms time to settle in and adjust to their new environment.
What to Feed Red Wiggler Worms
Feeding your worms correctly is crucial to maintaining a healthy, odor-free bin. Red wigglers eat a wide variety of organic waste, but some foods are more suitable than others.
Best Foods for Vermicomposting
- Fruit and vegetable scraps
- Coffee grounds and filters
- Tea bags (non-plastic)
- Crushed eggshells
- Bread in small amounts
- Cooked rice or pasta (plain, minimal oils)
- Plant trimmings
Always bury food scraps under the bedding to discourage pests and odors.
Foods to Avoid
- Meat, fish, and dairy
- Oily or greasy foods
- Spicy foods
- Citrus in large quantities
- Onions and garlic
- Processed foods with preservatives
Avoiding these items helps keep your bin healthy and free of unwanted smells.
Benefits of Using Red Wigglers for Beginners
Red wigglers provide numerous advantages that make vermicomposting easy, rewarding, and environmentally friendly.
- Fast Waste Reduction: These worms can significantly reduce household food waste, supporting a more sustainable lifestyle.
- High-Quality Fertilizer: Worm castings improve soil texture, water retention, and nutrient availability.
- Low Maintenance: Once established, a worm bin requires minimal effort and virtually no technical experience.
- Beginner-Friendly: Red wigglers are resilient and forgiving, making them perfect for first-time composters.
- Indoor & Outdoor Use: They adapt well to various environments, whether you have a small apartment or a large garden.