Exportearthworms.com – Vermicomposting is a fantastic way to turn organic waste into nutrient-rich compost using earthworms. It’s not just eco-friendly; it’s also a super effective method for recycling kitchen scraps, garden clippings, and other biodegradable materials. Whether you’re an experienced gardener wanting to boost your soil or a newbie looking for a sustainable way to handle household waste, this all-inclusive guide will take you through each step of vermicomposting with earthworms.
Introduction to Vermicomposting
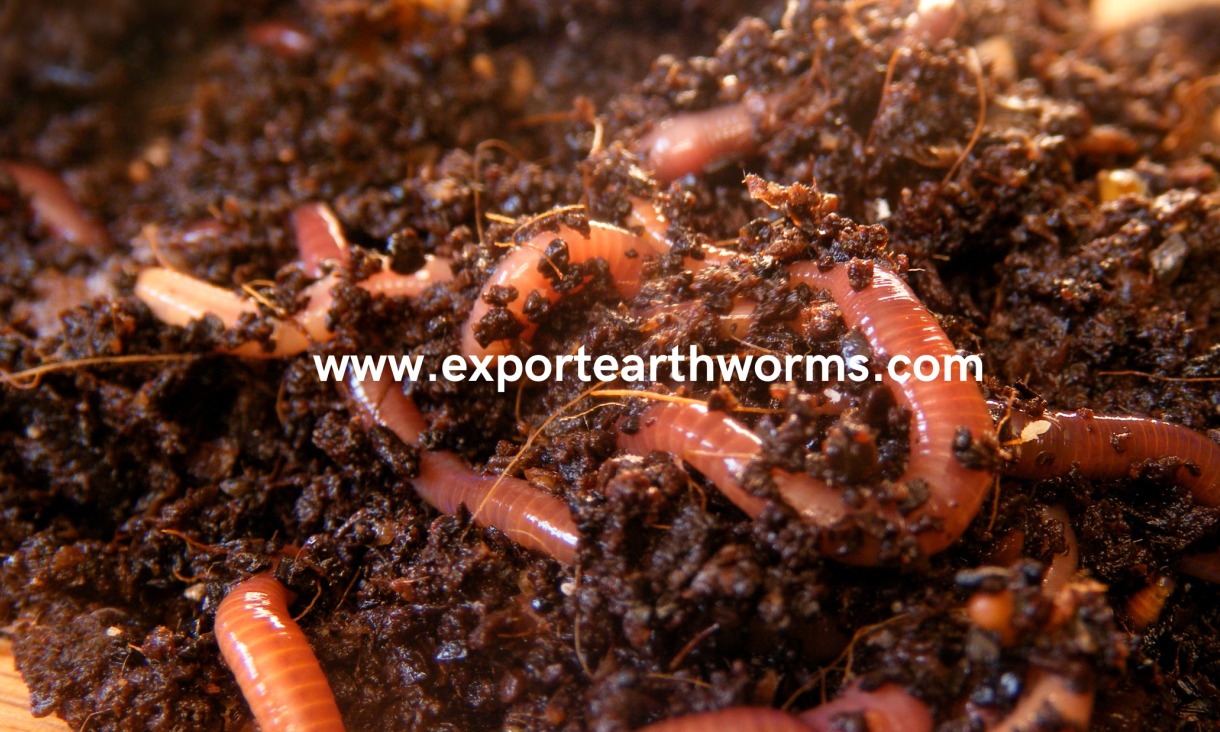
Vermicomposting is all about tapping into the incredible feeding habits of earthworms especially the likes of Eisenia fetida (the red wiggler) and Lumbricus rubellus. These little guys work their magic by breaking down organic waste into vermicompost, a rich, dark material often lovingly dubbed “black gold.” What sets vermicomposting apart from traditional composting is its speed, minimal odor, and the fact that it can easily fit into smaller spaces. This makes it a fantastic option for city dwellers and backyard gardeners alike!
Why Go for Vermicomposting?
1. Speedy Decomposition
Earthworms are nature’s little recyclers, munching through organic waste at an impressive pace. With a well-cared-for vermicompost bin, you can turn your food scraps into rich compost in just 2 to 3 months, while traditional composting can take anywhere from 6 to 12 months.
2. Top-Notch Soil Booster
Vermicompost is packed with beneficial microorganisms, essential nutrients like nitrogen, phosphorus, and potassium, along with growth-enhancing compounds such as humic acids and plant hormones. Research shows that soils enriched with worm castings have better structure, retain moisture more effectively, and improve nutrient absorption.
3. Cutting Down on Waste
Did you know that around 30 to 50% of what we throw away is organic? By channeling this waste into a vermicomposting system, you can significantly lessen your contribution to landfills and the greenhouse gases that come with them.
4. Easy to Maintain
Vermicomposting bins are a breeze to manage just feed the worms regularly, check the moisture now and then, and harvest occasionally. There’s no need for constant turning or adding bulking agents since the earthworms do a great job of aerating the material on their own.
Choosing the Right Earthworm Species
Not every earthworm is cut out for vermicomposting. The surface-dwelling, shallow-burrowing types really thrive in rich, organic environments. Here are the two most popular species:
Red Wigglers (Eisenia fetida)
These little guys are super prolific, adaptable to different conditions, and they eat like champs, making them a fantastic choice for beginners.
Red Earthworms (Lumbricus rubellus)
They behave similarly to red wigglers but are a bit larger; they’re also great at breaking down organic waste.
When you’re looking to buy worms, make sure to get them from trusted suppliers or local worm farms to ensure you’re getting healthy, active worms that are free from pests or diseases.
Setting Up Your Vermicompost Bin
1. Choosing a Container
You have a couple of options here: you can either buy a specially designed plastic or wooden worm bin, or you can get creative and repurpose a sturdy plastic tote with a snug lid. A bin that holds between 60 to 100 liters is usually perfect for most households.
2. Preparing the Bedding
To create a cozy home for your worms, start by layering:
- Base Layer: Add about 5 to 10 cm of coarse materials like shredded newspaper, cardboard, or coconut coir. This helps with drainage and keeps the airflow just right.
- Moisture Layer: Give the bedding a good dampening until it feels like a wrung-out sponge—moist but not dripping wet.
- Optional Soil Layer: If you want to give your worms a little extra love, sprinkle a thin layer of garden soil on top. This adds beneficial microbes and some grit to help with their digestion.
3. Introducing the Worms
Gently place the worms on top of the bedding you’ve prepared. Let them burrow in naturally over the next 24 to 48 hours before you start feeding them.
Feeding Your Worms
1. What to Feed
- Kitchen Scraps: Think about using fruit and vegetable peels, coffee grounds, tea bags, and crushed eggshells.
- Garden Waste: Fresh grass clippings, shredded leaves, and small plant trimmings are great options.
2. What to Avoid
- Steer clear of meat, dairy, oily foods, large amounts of citrus rinds, onions, and spicy foods. These can lead to unpleasant odors, attract pests, or even harm your worms.
Feeding Frequency and Quantity
Aim to feed your worms once or twice a week. Start with small portions—about half the weight of your worm population and tweak it based on how much they eat. To keep things tidy and reduce odors and fruit flies, bury the scraps under the bedding.
Keeping your worm colony thriving means maintaining the right conditions.
- Temperature: The sweet spot is between 15 and 25 °C. Steer clear of extreme heat or cold to keep them happy.
- Moisture: Your bedding should be nice and moist, ideally around 60–85% humidity. If it feels too dry, give it a light misting; if it’s too wet, toss in some dry bedding or boost the ventilation.
- Aeration: Make sure there’s plenty of airflow through those ventilation holes. Fluffing the bedding every now and then helps prevent it from getting compacted.
- pH Balance: Aim for a neutral pH level, around 6.5 to 7.5. If the bedding starts to lean acidic, sprinkle in some crushed eggshells or a dash of agricultural lime.
By keeping a close eye on these factors and making small tweaks as needed, you’ll ensure your worm colony stays healthy and productive!
Harvesting Vermicompost
After about 8 to 12 weeks, once most of the bedding and scraps have been processed, it’s time to gather your vermicompost:
- Side Migration Method: Simply push the finished compost to one side of the bin, then add fresh bedding and food to the empty side. The worms will naturally migrate over, making it easy for you to collect the compost.
- Light Separation Method: Spread the material out on a flat surface and expose it to light. The worms will burrow away from the light, allowing you to sift out the castings effortlessly.
Make sure to store your harvested vermicompost in a breathable container, so it’s ready for immediate use or for future applications.
Using Vermicompost in Your Garden
- Soil Amendment: Blend in about 10-20% vermicompost with your potting mixes or sprinkle it on top of your garden beds to really amp up those nutrient levels.
- Seed Starting: For strong seed germination, mix in 30% vermicompost with some fine-textured soil.
- Compost Tea: To make a nutrient-rich compost tea, soak vermicompost in water at a 1:5 ratio for 24 to 48 hours. After steeping, strain it and use it as a foliar spray or soil drench to introduce those beneficial microbes.
Regularly using vermicompost can significantly boost your soil’s fertility, enhance plant health, and improve resistance to pests and diseases.
Troubleshooting Common Issues
| Issue | Cause | Solution |
|---|---|---|
| Foul Odor | Overfeeding or anaerobic conditions | Reduce feeding, increase bedding, improve aeration |
| Pest Infestation (e.g., fruit flies, mites) | Exposed food scraps, excessive moisture | Bury scraps, add dry bedding, cover bin with tight lid or cloth |
| Worms Escaping | Unfavorable conditions (too wet/dry, acidic) | Adjust moisture, pH; ensure adequate bedding and cover |
| Slow Processing | Low worm population or temperature extremes | Add more worms, maintain optimal temperature (15–25 °C) |
Advanced Tips for Enthusiasts
- Worm Reproduction: Did you know that a healthy worm population can double in size every 60 to 90 days? Regular harvesting is key to keeping their numbers in check and avoiding overpopulation.
- Vermicast Quality: To produce top-notch castings, make sure to feed your worms a variety of materials with a high carbon-to-nitrogen ratio, like coffee grounds and shredded leaves.
- Scaling Up: If you’re thinking about expanding your operation, consider using stacked tray systems or continuous flow bins. These methods can help you streamline the harvesting process and boost your overall capacity.