Exportearthworms.com – Starting an earthworm farm is a fantastic and eco-friendly project for anyone looking to recycle organic waste, boost their garden soil, or even start a small side hustle. Known as vermiculture or vermicomposting, this method involves using special composting worms to turn food scraps and yard waste into rich, nutrient-packed castings. Beyond the environmental perks, worm farming can enhance plant health, cut down on waste disposal costs, and provide great learning experiences. This guide lays out straightforward, practical steps to help you set up and care for a thriving worm bin, along with all the benefits and tips you’ll need to thrive.
Choosing the Right Earthworm Species
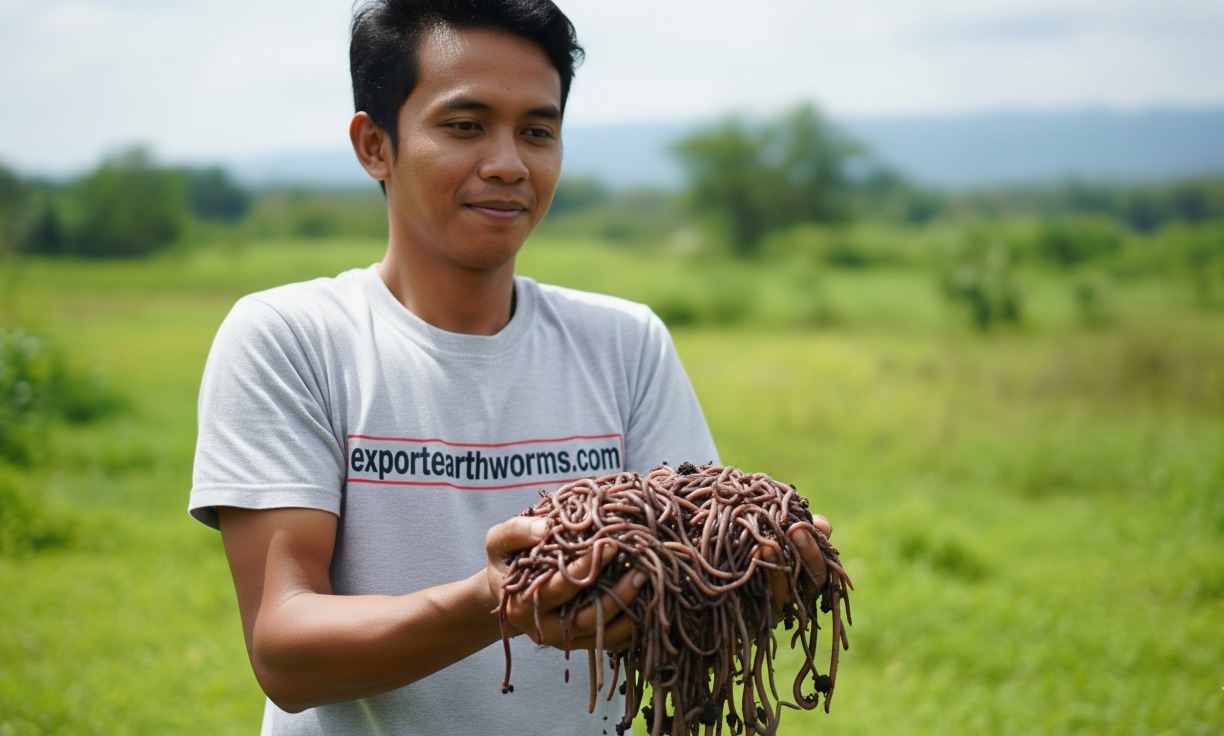
When it comes to choosing the right earthworm species, go for those that are known for their speedy composting and adaptability. Eisenia fetida, commonly known as red wigglers, and Eisenia andrei are perfect picks for beginners. These little guys thrive in confined bins and break down organic matter in no time.
A good starting point is to have about 500 to 1,000 worms for every square meter of surface area, depending on how much organic waste you plan to handle. Make sure to buy your worms from a trusted supplier, a local worm farm, or a community gardening group to ensure you get healthy, disease-free stock. And steer clear of garden earthworms like Lumbricus terrestris; they prefer deep soil and aren’t as effective in bins.
1. Preparing the Worm Bin
First things first, think about how big you want your worm bin to be and what type of container you’ll use. If you’re in an apartment, a small indoor bin (20–50 liters) is perfect. For those with a green thumb and a bit more space, larger outdoor beds or stacked systems are the way to go. Make sure your bin has good drainage by adding some holes and using a drip tray to catch any leachate (that’s the liquid that forms in the bin). For bedding, materials like shredded cardboard, newspaper, coconut coir, and aged compost are great choices.
They provide a cozy home for your worms and help keep moisture levels just right. Aim for bedding that feels like a damp sponge and has enough surface area for the microbes that help with decomposition. Also, keep your bin in a shaded spot and shield it from extreme temperatures.
2. Feeding Your Worms
When it comes to feeding your worms, think of it as creating a balanced diet and introduce new foods slowly. They love munching on fruit and vegetable scraps, coffee grounds, crushed eggshells for a calcium boost, and finely chopped garden waste. Just steer clear of meat, dairy, fried foods, and too much citrus or spicy onions. A good rule of thumb is to feed them about half the weight of your worm population each week — so if you have 1 kg of worms, they’ll likely eat around 0.5 kg of food weekly, given the right conditions. To help speed up the breakdown process, chop or blend your scraps and bury the food under the bedding to keep pests and odors at bay.
3. Keeping the Right Conditions for Worms
Worms are quite particular about their environment, so it’s important to keep an eye on moisture, temperature, and pH levels. Aim for temperatures between 15–25°C (59–77°F) and keep the moisture around 60-80% think of it like a wrung-out sponge. It’s a good idea to check the bedding’s pH from time to time; neutral to slightly alkaline conditions (pH 6.5-7.5) work best for them. If you notice the acidity creeping up, you can add some crushed eggshells or a bit of agricultural lime to balance things out. Make sure to aerate the bin weekly by gently turning the contents or adding some dry bedding to avoid compaction. Keep an eye out for pests like fruit flies or ants, and tackle any issues quickly by adjusting the moisture, burying fresh food, or adding more dry bedding.
Read More: Top 10 Benefits of Earthworms for Healthier Soil
4. Collecting and Using Worm Castings
Worm castings are a fantastic addition to your gardening routine dark, crumbly, and completely odorless. You should aim to harvest the castings every 3–6 months, depending on how active your worms are. There are a few common methods for this: you can move the contents to one side and add fresh bedding to encourage the worms to migrate away from the finished material, use light to coax them out, or set up a multi-tiered bin where the finished castings gather in the lower trays. Once you’ve collected the castings, sift them and store them in breathable bags or containers. You can use these castings to enhance your potting mix, mix them into garden beds, or even brew some vermicompost tea for foliar sprays and soil drenches.
Starting an Earthworm Farm: The Benefits
- Environmental impact: By diving into vermiculture, you’re not just helping yourself; you’re also doing a solid for the planet. It keeps organic waste out of landfills, which helps cut down on methane emissions and encourages a more sustainable, local ecosystem.
- Soil health: Earthworm castings are like nature’s superfood for your soil. They pack in nutrients, improve soil structure, boost water retention, and create a thriving environment for beneficial microbes that help your plants grow strong and resilient.
- Economic and educational value: Making your own compost means you’ll spend less on fertilizers. Plus, you can sell high-quality castings and live worms to gardeners, nurseries, or landscapers, opening up new income streams. Worm farms also serve as fantastic hands-on learning projects for schools and community gardens.
Vermicompost Tea and How to Use It
Vermicompost tea is a nutrient-rich liquid made by soaking worm castings in water. Sometimes, it’s aerated for 24 to 48 hours to enhance the beneficial microbes. For the best results, mix about one part castings with five to ten parts water, steep for 24 to 48 hours, then dilute it for foliar sprays (like a 10:1 ratio) or use it as a soil drench. It’s best to apply it in the morning or late afternoon to prevent leaf scorch and to help those microbes thrive.
Practical Tips for Success
- Start small: A 20–50 liter bin is perfect for those just getting started. You can always expand as you gain experience.
- Keep a log: Document your feeding schedules, temperatures, and yields. This will help you identify trends and improve your results.
- Don’t overfeed: Too much food can lead to unpleasant odors and pests. Only add new scraps when the previous material is mostly processed.
- Select safe bedding: Opt for shredded cardboard, non-glossy paper, or coconut coir. Steer clear of plastics and materials with heavy ink.
- Shield from predators: Elevate your bin or place it in a sheltered spot, and make sure to use a secure lid.
- Rotate or tier: Multi-tray systems allow you to harvest finished castings without disturbing the worms.
- Market wisely: If you’re selling castings, be sure to check local regulations, package them neatly, and include clear usage instructions.
Troubleshooting Common Problems
A bad smell often means there’s too much moisture or rotting food; remove any wet material, add some dry bedding, and cut back on feedings. If worms are trying to escape, it could be a sign of poor conditions check the pH, moisture, and temperature, and consider relocating the bin if necessary. Slow processing might be due to low temperatures, not enough food variety, or overcrowding; try diversifying their diet, insulating the bin, or splitting the population into more containers.