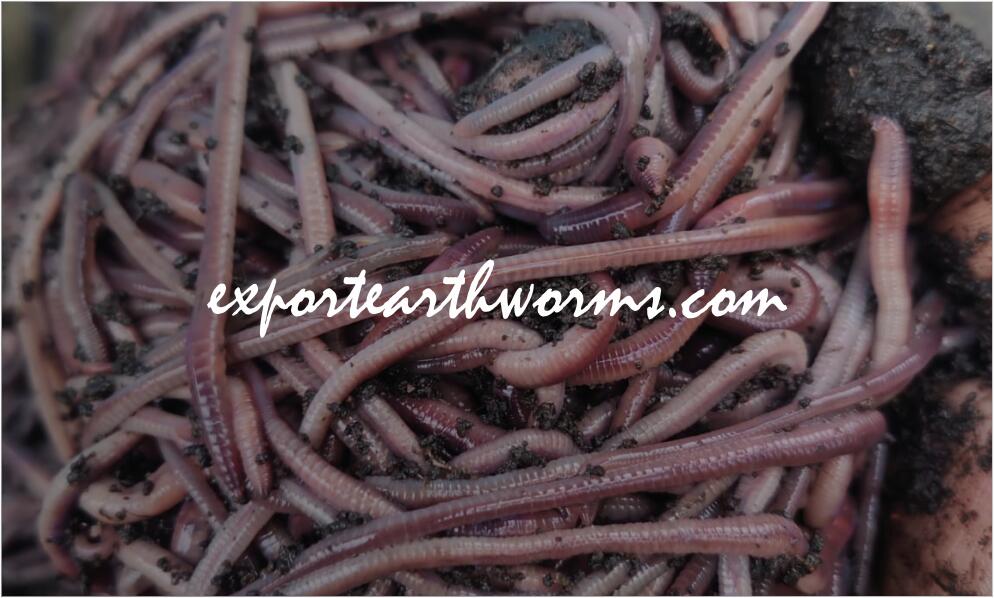
Exportearthworms.com – Vermicomposting might seem straightforward at first glance: just feed organic waste to worms and collect the nutrient-rich castings they create. However, hidden within that simplicity are several key factors that can make the difference between a thriving worm bin and a stinky, sluggish compost pile. One of the most crucial and often overlooked elements is bedding.
This is the environment where your worms live, move, and indirectly feed; it helps regulate moisture, provides carbon, balances pH, allows for airflow, and gives worms the physical structure they need to do their job. By optimizing worm bedding, you create a stable, breathable, carbon-rich environment that supports worm health, speeds up the decomposition of food scraps, and ultimately leads to better-quality vermicompost. In this article, we’ll explore the what, why, and how of bedding optimization, offering practical, actionable steps you can take whether you’re managing a small tabletop system or a larger backyard setup.
Why bedding is more important than you might realize
Bedding plays four essential roles at once: it adds carbon to balance out nitrogen-heavy food scraps, helps regulate moisture so worms can breathe, creates space for gas exchange and movement, and stabilizes pH levels to keep microorganisms and worms happy. When you choose and manage bedding wisely, worms spread out evenly, munch through food quickly, and reproduce effectively. On the flip side, if the bedding is too wet, too compact, too acidic, or lacking in carbon, it can create anaerobic pockets, slow down microbial activity, stress out the worms, cause them to leave the bin, and produce unpleasant odors that drive away helpful insects and neighbors. So, optimizing your bedding is the best way to boost processing speed, increase casting yield, and ensure long-term stability in your system.
Picking the right materials: what to use and what to steer clear of
Not all carbon sources are equal. The ideal bedding materials are porous, break down slowly, have a neutral to slightly acidic pH, and are locally sourced to keep costs down. Great choices include shredded newspaper or office paper (make sure it’s ink-free or printed with soy/vegetable ink), corrugated cardboard (torn into strips and flattened), well-aged straw or hay, coconut coir, leaf mold, and finely chopped yard waste like dried leaves.
A popular and effective mix for beginners is about 50-70% shredded paper/cardboard or coir combined with 30-50% aged leaves or straw; this combination retains moisture without becoming compacted and provides a steady source of carbon. Steer clear of fresh sawdust from aromatic woods, large wood chips, fresh lawn clippings in bulk (which are too nitrogen-rich and can heat up), large amounts of citrus (which can be acidic and irritating to worms), and glossy magazines or chemically-treated papers. If you’re using manure-based bedding, make sure it’s aged and well-composted first; raw manure is too hot and nitrogen-heavy for bedding.
Getting your bedding ready: particle size, layering, and conditioning
Preparation is the stage where raw materials transform into a thriving living medium. The size of the particles is crucial: the bedding needs to be broken down enough for worms to navigate easily while still allowing for good airflow. Shred paper and cardboard into strips or small pieces, chop leaves and straw into a few centimeters, and break coir blocks into fluffy fibers. Instead of packing the materials tightly, think of the bedding as a loose sponge rather than a mattress.
Once you’ve layered everything, give the bedding a light misting to achieve the texture of a damp sponge: when you squeeze a handful, a few drops should come out, but it shouldn’t be dripping. If possible, let the mixed bedding sit for a few days in a shaded container; this gives microbes a chance to settle in and allows any heat from the initial decomposition to cool down. For larger setups, you might want to pre-compost the bedding for 1 to 3 weeks to stabilize it and minimize the risk of nitrogen drawdown when you add fresh food waste.
Moisture and pH: finding the sweet spot
Worms breathe through their skin and thrive in a moist environment, but too much water can cut off oxygen and create anaerobic conditions. Aim for bedding moisture to be around 60-80% again, think of that damp sponge as your guide. If the bedding gets too wet, toss in some dry shredded cardboard, straw, or coarse shredded leaves to improve drainage and air circulation. On the flip side, if it’s too dry, give it a light misting with plain water and mix it up to spread the moisture evenly; steer clear of adding liquid fertilizers or anything that smells strong.
Ideally, you want the pH to stay neutral to slightly acidic (around 6.0-7.5). Most bedding materials do a good job of buffering pH, but if you’re adding a lot of acidic foods like citrus or coffee grounds, balance it out with crushed eggshells or a small amount of alkaline materials like aged wood ash (just a little, since ash is quite powerful). Frequent swings in pH can cause worms to move away or slow down their feeding, so keep an eye on it and make adjustments early on.
Structure and aeration: keeping air flowing
Keeping air flowing is just as crucial as ensuring moisture in your bedding. It’s essential to maintain a porous structure so that aerobic microbes can thrive and prevent those pesky anaerobic pockets that can spoil the system. To achieve this, steer clear of over-compacting the bedding never press it down too hard and mix in some coarse, airy materials like straw, chunky shredded cardboard, or small wood shavings from non-aromatic woods.
If you’re working with larger bins, consider using vertical aeration tubes (like perforated PVC) or gently turning the bedding from time to time to boost airflow without disturbing the worms too much. When it comes to adding food, remember to bury it under the bedding instead of piling it on top, which can compress the layers and cut off oxygen. Good aeration not only helps keep things fresh but also deters pests and minimizes the need to deal with excess liquid.
Bedding depth, layering strategy, and feeding interaction
Now, let’s talk about bedding depth, layering, and how they interact with feeding. The depth of your bedding is key for maintaining thermal stability and allowing worms to move around comfortably. For most home systems, a depth of 6–12 inches (15–30 cm) is ideal, giving worms enough room to escape extreme temperatures and migrate toward fresh food. In larger setups or outdoor windrows, deeper bedding helps stabilize moisture and temperature, but it does require a bit more attention to aeration.
Layering fresh bedding over older material every few weeks creates vertical zones that encourage worms to migrate and process new inputs gradually. When it’s time to feed, try a “distributed feeding” approach scatter small amounts of food in several spots, each covered with a bit of bedding rather than dumping a big pile in one place. This method helps avoid hot spots, reduces pest attraction, and promotes even distribution and consumption by the worms.
Temperature and seasonal adjustments
When it comes to temperature and seasonal adjustments, most vermicomposting worms, like red wigglers and Eisenia species, really thrive in a cozy range of about 15–25°C (59–77°F). While bedding does provide some insulation, it won’t completely shield the worms from extreme temperatures. During those hot summer days, it’s a good idea to boost the bedding volume, provide some shade for the bin, enhance aeration, and toss in some dry materials to keep things cool and prevent any anaerobic issues.
On the flip side, when the weather turns cold, adding extra bedding and insulating layers like straw, cardboard, or even a thermal wrap can help keep the heat in. If you have portable bins, consider moving them to a more sheltered spot. It’s best to avoid sudden temperature changes; worms handle slow and steady shifts much better. For larger setups, keep an eye on the temperature with a simple thermometer probe, and adjust your ventilation or insulation as needed.
Monitoring and troubleshooting common bedding problems
Now, let’s talk about monitoring and troubleshooting common bedding issues. Regularly checking in on your bin is key, but it doesn’t have to be intrusive. Aim to check the moisture and smell weekly; a healthy bin should have that nice earthy scent, not a rotten one. If you catch a whiff of sour or ammonia odors, that’s a sign of anaerobic conditions or too much nitrogen quickly add some dry, carbon-rich bedding and boost the aeration. If you see worms clustering at the surface or trying to escape, it’s time to test the moisture and pH levels and cut back on any fresh acidic or salty additions.
A little mold on the bedding is perfectly normal and part of the decomposition process, but if you’re dealing with thick fungal mats, that’s a sign of poor aeration or overly wet bedding, and you’ll want to fix that. If you notice maggots or fruit flies, it usually means there’s exposed food; just cover any new food with a good layer of bedding. Keeping a simple log of your feedings, bedding changes, and observations can help you spot trends and respond proactively.
Harvesting, refreshing, and lifecycle considerations
When it comes to managing your vermicomposting system, it’s important to think about harvesting, refreshing, and the lifecycle of your bedding. Over time, the bedding will break down into finished vermicompost, so you’ll need to refresh it. A good practice is to periodically add fresh bedding like shredded cardboard, coir, or leaves every 4 to 8 weeks, depending on the size of your system and how much you’re feeding the worms. You should also aim to harvest the finished castings from the bottom zones or use migration methods, such as light and food baiting, every 3 to 6 months.
When you’re ready to harvest, make sure to leave at least 30 to 40% of the mature bedding in the bin. This helps keep the microbial communities intact and maintains a stable environment for the worms that are still there. Before adding any new bedding, recondition it to the right moisture level and mix it in gently to minimize shock. In continuous systems, it’s best to remove only a portion of the finished compost at a time to keep the worm population undisturbed.
Environmental and health considerations
Now, let’s talk about environmental and health considerations. Always use bedding sourced from uncontaminated, chemical-free materials. Steer clear of paper or cardboard that has heavy inks, glossy coatings, or chemical residues. It’s crucial not to add anything treated with pesticides, herbicides, or heavy metals into the bedding, as worms can bioaccumulate these contaminants, which will ultimately end up in your castings.
If you’re producing vermicompost for edible gardens, be particularly cautious about the materials you use. To keep odors in check and be a good neighbor, maintain the right moisture and aeration levels, bury fresh food scraps, and avoid adding meat, dairy, or oily foods to the bin.